Setting Up a Professional Grade Home Recording Studio

Setting Up a Professional Grade Home Recording Studio
This guide provides a technical breakdown of the hardware, acoustic treatment, and software requirements needed to build a high-fidelity recording space at home. You'll learn how to select microphones, audio interfaces, and monitoring systems that meet industry standards for voiceover work, music production, and podcasting.
The shift toward remote work in the entertainment industry means your home setup can no longer be just a laptop and a pair of earbuds. If you want to deliver files that sound like they came from a studio in Los Angeles or London, you need to treat your room like a professional environment.
What Equipment Do I Need for a Pro Studio?
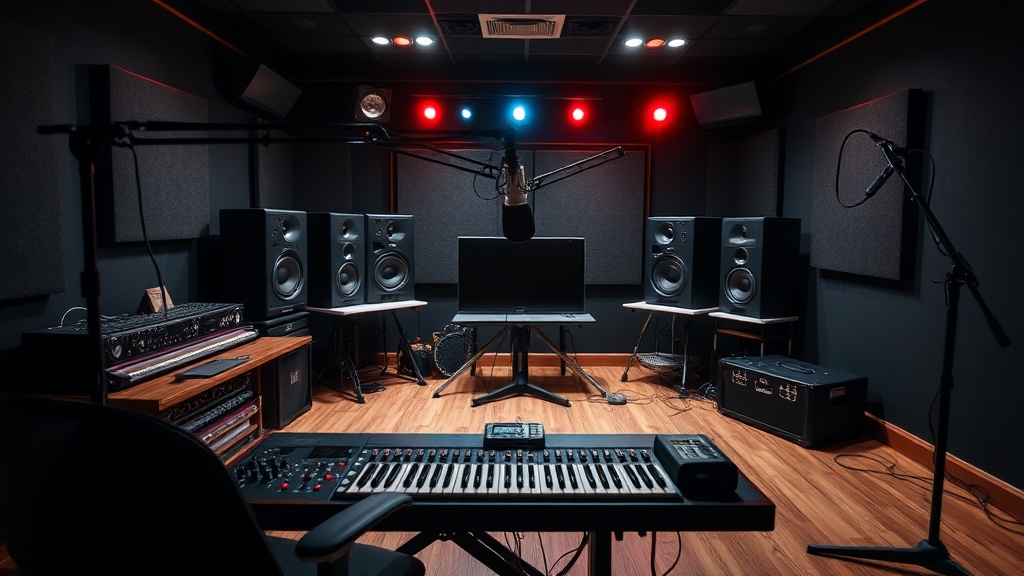
A professional studio requires a high-quality audio interface, a condenser microphone, studio monitors, and a powerful computer.
Start with your computer. It's the brain of the operation. You need a machine with enough RAM to handle heavy plugins and high-resolution audio files without lagging. Most professionals opt for Apple's Mac Studio or a high-end MacBook Pro because of their stability with digital audio workstations (DAWs).
Next, look at your interface. This device converts your analog voice into a digital signal. The Focusrite Scarlett series is a staple for beginners, but if you're aiming for top-tier professional work, consider the Universal Audio Apollo series. These interfaces often include built-in processing that helps you record with near-zero latency.
Your microphone choice depends on your specific medium. For voiceovers, a large-diaphragm condenser like the Shure SM7B is a legendary choice because it handles various vocal ranges with incredible warmth. If you are recording acoustic instruments, you might want something more sensitive like a Neumann TLM 103.
Don't forget the monitoring. You can't mix what you can't hear accurately. Studio monitors—not consumer speakers—are designed for a flat frequency response. This means they don't "color" the sound by boosting the bass. The Yamaha HS series is a great benchmark for reliable, honest sound.
| Component | Entry-Level Pro | High-End Professional |
|---|---|---|
| Interface | Focusrite Scarlett 2i2 | Universal Audio Apollo Twin |
| Microphone | Audio-Technica AT2020 | Neumann U87 Ai |
| Headphones | Sony MDR-7506 | Beyerdynamic DT 1990 Pro |
| Software (DAW) | GarageBand / Ableton Live | Avid Pro Tools |
How Much Does a Home Studio Cost?
A professional-grade home studio typically costs between $2,000 and $10,000 depending on the quality of your microphones and acoustic treatment. While you can start small, the cost scales quickly as you move from "good" gear to "industry-standard" gear.
A basic setup with a decent interface, a solid microphone, and some basic acoustic foam might run you $1,500. However, if you want to compete with professional studios, you'll spend a large portion of your budget on the room itself. You can buy the best microphone in the world, but if your room has a weird echo, that microphone will sound terrible. It's a common mistake.
Budgeting for a studio is a tiered process:
- The Core Gear: Computer, interface, and microphone ($1,000 - $3,000).
- Monitoring: Studio monitors and professional headphones ($500 - $1,500).
- Acoustics: Bass traps, acoustic panels, and diffusers ($500 - $2,500).
- Accessories: XLR cables, mic stands, and pop filters ($200 - $500).
It’s tempting to buy a bunch of expensive plugins first. Don't do that. A high-quality microphone and a treated room will do more for your sound than any software ever could. Think of it as building a foundation before you paint the walls.
How Do I Treat My Room for Better Sound?
Acoustic treatment involves using specialized materials to absorb sound reflections and manage the way sound waves behave in your room. This is the difference between a "bedroom recording" and a "studio recording."
You'll deal with two main issues: reflections and standing waves. Reflections are the high-frequency sounds bouncing off your walls (creating that "boxy" sound). Standing waves are low-frequency build-ups in the corners that make your audio sound muddy. You can check the physics behind how sound behaves via Wikipedia's entry on acoustics to understand why your room might be fighting you.
To fix reflections, use acoustic panels. Avoid the cheap, thin foam squares you see on Amazon; they only handle high frequencies and leave your low end sounding a mess. Instead, look for rockwool or fiberglass-filled panels. These are much denser and actually absorb sound energy.
For the corners, you need bass traps. Bass is much harder to control than treble. If you don't place thick absorbers in the corners of your room, your recordings will always sound "boomy." This is a frequent complaint in home-based voiceover work. It’s frustrating to spend hours on a take only to realize the room's physics ruined it.
If you're working in a space that's a bit more casual, you might want to consider your existing setup. For instance, if you've already spent time building a high-end home theater experience on a budget, you can apply those same principles of sound isolation and placement to your recording nook. The logic is similar: control the environment to control the output.
Lastly, consider a reflection filter. This is a semi-circular shield that sits behind your microphone. It's a great temporary fix if you can't afford to treat the entire room. It won't make your room sound perfect, but it certainly helps dampen the immediate reflections from your desk or walls.
The setup process is a continuous loop of testing and adjusting. You record a line, listen back, identify the problem, and tweak the environment. It's a meticulous process, but the results speak for themselves.
One thing to keep in mind is the placement of your desk. If your desk is right against a wall, you're going to have massive low-end build-up. Try to pull your desk away from the center of the room, but not directly against a corner. Finding that "sweet spot" is part of the craft.
Recording at home shouldn't feel like a compromise. With the right approach to hardware and room physics, your home studio can become a legitimate production hub. Whether you're recording a podcast or a voiceover for a major film, the goal is a clean, uncolored signal that sounds professional from the first second.
Steps
- 1
Choose Your Acoustic Environment
- 2
Select a High-Quality Audio Interface
- 3
Invest in Essential Microphones
- 4
Optimize Your Monitoring Setup
- 5
Install Digital Audio Workstation Software